
Ever wondered what makes your Xbox One S tick? Or maybe you’re just curious about the inner workings of that sleek gaming machine? Disassembling the Xbox One S isn’t just a nerdy rite of passage; it’s a thrilling adventure that can turn you into a console wizard. With a few tools and a dash of bravery, you’ll unlock the secrets hidden beneath its shiny exterior.
Overview of Xbox One S Disassembly
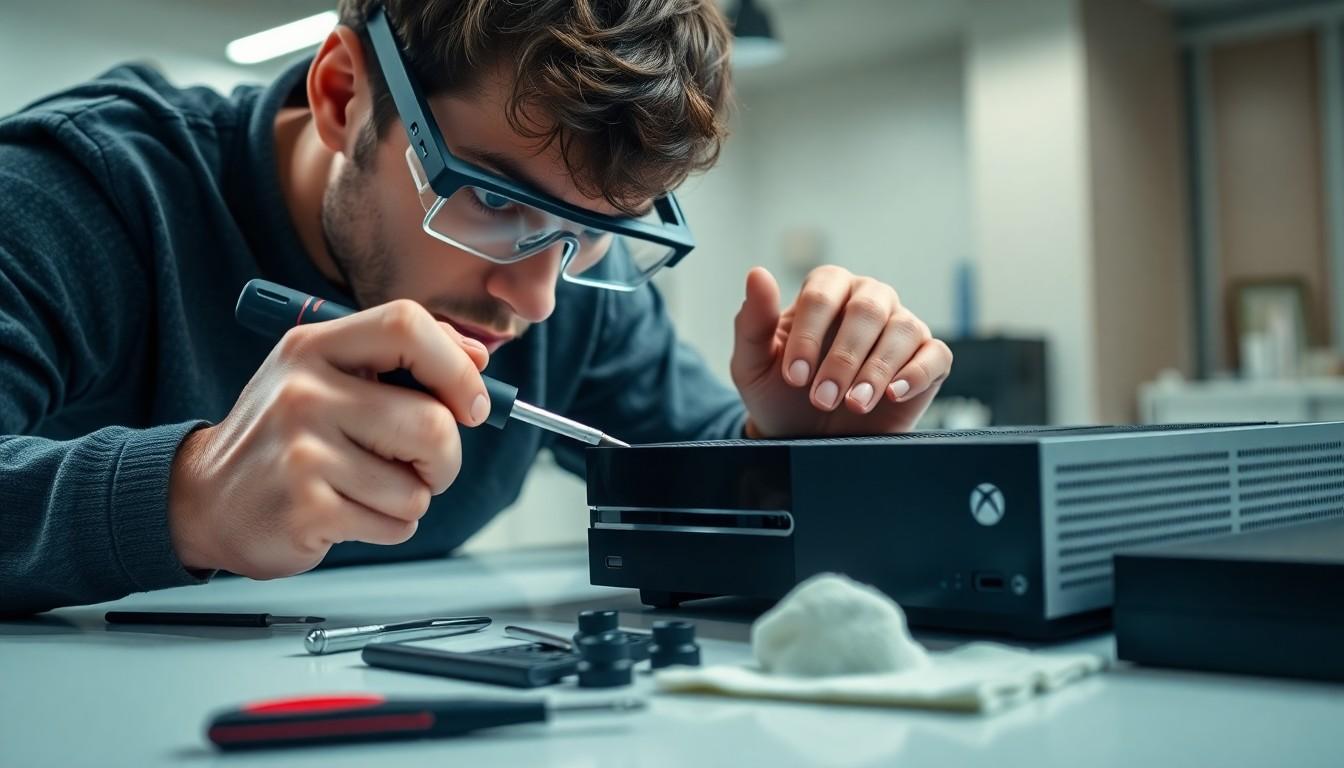
Disassembling the Xbox One S requires specific tools for success. Essential tools include a Torx screwdriver, plastic spudgers, and tweezers. Gather items like these before starting the process to ensure readiness.
Opening the console involves carefully removing the outer casing. Begin by heating the edges to loosen the adhesive. Using a plastic spudger, pry the casing open without damaging internal components.
Internal components such as the power supply, hard drive, and motherboard are easily accessible once the casing is removed. Identifying each part contributes to a clearer understanding of their functions. Power supply problems often stem from overheating or wear. The hard drive can be upgraded for increased storage, while the motherboard holds critical components for performance.
Reassembly follows the same order as disassembly. Ensuring all screws and components are securely placed maintains the console’s integrity. Testing the system after reassembly verifies that it functions correctly.
Safety should remain a priority throughout the disassembly process. Disconnecting the power supply beforehand reduces the risk of electric shock. Handling components with care prevents static damage that can occur when working on electronic devices.
The process of disassembling the Xbox One S offers insight into the technology behind the console. Gaining experience not only enhances technical skills but also allows for more effective troubleshooting in the future.
Tools Needed for Disassembly

Disassembling the Xbox One S requires specific tools for a smooth process. These tools ensure ease and efficiency while maintaining the integrity of the console.
Recommended Toolkit
Essential items include a Torx screwdriver, which securely fastens components. A set of plastic spudgers allows for safe prying of the casing without causing damage. For precise handling, tweezers are crucial in managing small parts. Using a heat gun or hairdryer aids in loosening adhesive around the outer casing. Lastly, a microfiber cloth helps keep surfaces clean and free of debris during disassembly.
Safety Precautions
Prioritizing safety is vital when disassembling electronics. Disconnecting the power supply eliminates the risk of electric shock. Using an anti-static wrist strap prevents static electricity from damaging sensitive components. Proper ventilation is necessary when applying heat, as fumes may pose health risks. Wearing safety goggles protects the eyes from potential debris during the disassembly process. Finally, keeping a clean workspace reduces the likelihood of losing small screws or components.
Step-by-Step Disassembly Process
Disassembling the Xbox One S requires careful attention to detail and the right tools. Follow these steps to complete the process efficiently.
Removing the Outer Shell
Start by heating the edges of the console. Use a heat gun or hairdryer to loosen the adhesive around the outer shell. Next, insert a plastic spudger into the seam to gently pry open the case. Working slowly ensures no internal components sustain damage. Once separated, set aside the outer shell in a safe area. This step allows access to the internal components, which are secured by screws and connects to the motherboard.
Accessing Internal Components
Upon removing the outer shell, multiple internal components become visible. Locate the screws securing the power supply and hard drive. Use your Torx screwdriver to safely remove these screws. These essential parts include the hard drive, which can provide storage upgrades, and the power supply, often prone to issues due to overheating. Taking care during this step protects the integrity of each component. With careful handling, these parts allow insight into their functionalities and positions.
Disconnecting the Power Supply
Isolate the power supply from the motherboard by locating its connection. Firmly but gently pull the connector to avoid any damage. Ensure that the power supply is completely free of the console to prevent any electrical hazards. This step makes replacing or troubleshooting the power supply straightforward. Disconnecting it not only enhances safety but allows for thorough cleaning and inspection of the motherboard, ensuring optimal performance in the future.
Common Issues Encountered
Disassembling the Xbox One S can present several challenges. Understanding these common issues helps in avoiding mistakes during the process.
Snap Fit Problems
Snap fits secure the outer casing and internal components. Difficulty in separating these parts often occurs, causing frustration. Some individuals apply excessive force, which could damage the casing or internal clips. Using a heat gun effectively softens the adhesive, allowing for easier separation. Gently leveraging a plastic spudger around the edges preserves the integrity of the snap fits. Patience is key; rushing through this step often leads to broken components and a harder reassembly.
Damaging Internal Parts
Accidental damage to internal parts is a common concern. The motherboard, power supply, and hard drive are delicate components requiring careful handling. Using metal tools increases the risk of scratching or short-circuiting these parts. To mitigate risks, opt for plastic tools such as spudgers or tweezers. Disconnecting the power supply from the motherboard ensures safety and prevents electrical shock. Clearing workspace of clutter minimizes the chances of accidentally knocking out small components, which can be easily lost.
Reassembly Tips
Reassembly of the Xbox One S requires careful attention to detail. Start by aligning the power supply and motherboard correctly to ensure a smooth fit. Place screws back into their original locations, as this maintains the integrity of the assembly.
Use the Torx screwdriver to securely fasten each component, avoiding over-tightening, which can strip the screws. When reattaching the outer casing, be mindful of snap fits to prevent breaks. Heating the edges slightly can help with this process, making the adhesive more pliable.
Check connections after each step to ensure everything is locked into place. A visual inspection can help catch any dislodged components before sealing the console completely. Utilize the microfiber cloth to keep surfaces clean during reassembly, preventing dust from entering the console.
Remember to reconnect the power supply firmly to the motherboard, ensuring the console operates correctly. It’s essential to keep the workspace organized, as misplaced screws or parts can delay reassembly.
Wear the anti-static wrist strap throughout to protect internal components from static damage. Ventilating the workspace during the heating process enhances safety. Following these tips promotes a smoother reassembly experience, maintaining the Xbox One S’s performance and longevity.
Conclusion
Disassembling the Xbox One S opens up a world of understanding for gamers and tech enthusiasts alike. It’s not just about taking apart a console; it’s an opportunity to learn about its intricate components and enhance technical skills. With the right tools and precautions, the process can be both safe and rewarding.
Taking the time to explore the internal workings of the Xbox One S can lead to improved troubleshooting abilities and even potential upgrades. Whether it’s addressing common issues or simply satisfying curiosity, the experience of disassembly fosters a deeper appreciation for gaming technology. Embracing this hands-on approach can transform anyone into a more informed and capable console owner.